Balanced Literacy Monthly Pacing Guide: October
Essential Practice: Fine Motor, Drawing, and Writing
Domain: Physical Development & the Mechanics of Writing, Print Concepts
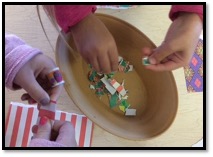
Children will engage in tearing and gluing collage experiences and cutting strips with tiny envelopes
Teachers will explicitly teach how to rip, hold scissors safely, how to hold and cut with scissors.
Developmental Sequence of Cutting Skills
Resource adapted from Vanessa Levin at Prekinders
- Rip
- Snip
- Fringe
- Straight lines
- Zig zag lines
- Curved lines (circles, waves, hearts)
- Right angles (squares and rectangles)
Ripping Paper
Ripping sturdy paper such as construction paper is the perfect activity for young children to engage in before being introduced to scissors. Children exercise their tripod grasp – thumb and first two fingers as they grip the paper to rip it. Ripping also requires children to move their hands in opposite directions at the same time which helps develop bilateral coordination skills. Cut sturdy paper into strips and invite children to rip away! When they demonstrate they are ready, move to larger pieces of paper.
Snipping with Scissors
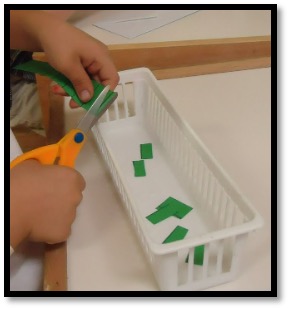
Snipping is the act of opening and closing the scissors one time only which results in successfully cutting something. Snipping will help children develop the muscles in their hands necessary to cut longer lines later so their hands won’t become fatigued.
Use Scissors to Cut Fringe
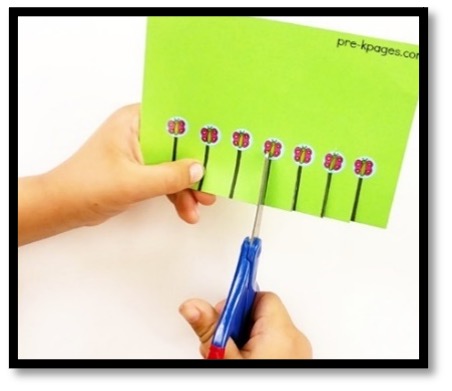
Fringe is repetitive snipping without cutting the paper in half. Use a ruler to draw evenly spaced lines from the bottom of a square piece of green construction paper up two inches. Then, place stickers at the top of each line. Invite children to fringe the paper by cutting on the lines and stopping at the stickers.
How to Cut Straight Lines
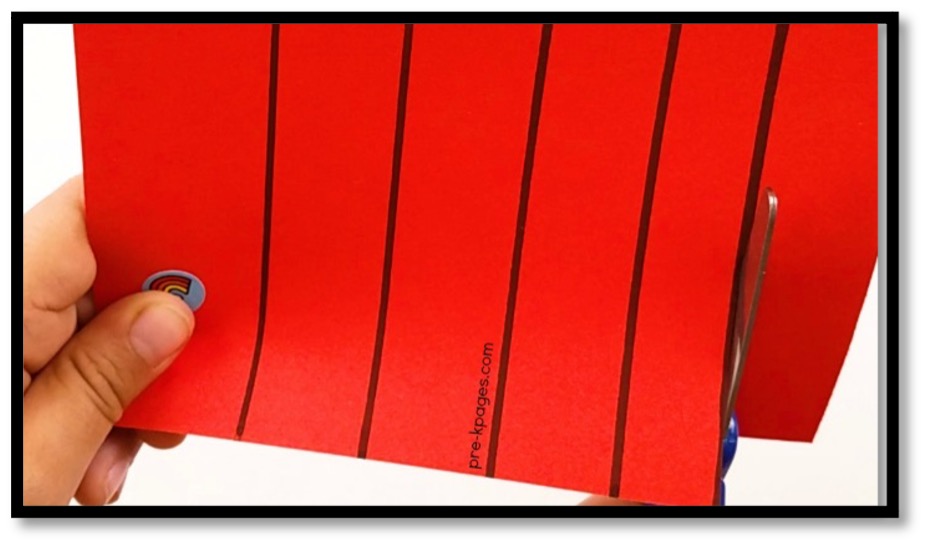
Once children have mastered the first three, they start cutting straight lines from point A to point B. This requires that they open and close the scissors multiple times per cut, which is much more difficult than snipping or fringing. So don’t be surprised if they complain of fatigue in their hands. Fatigue indicates that they still need more practice with scissors to develop those fine motor skills.
Cutting Zig-Zag Lines
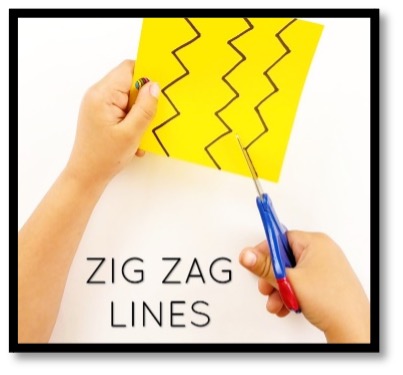
Next up are zig-zag lines. Zig-zag lines are more difficult to cut because they require the child to turn the paper or their hand as they cut. This is a much more advanced cutting skill than snipping or cutting straight lines and can lead to hand fatigue. So be sure your kids are really ready before introducing zig-zag lines.
Cutting Curved Lines
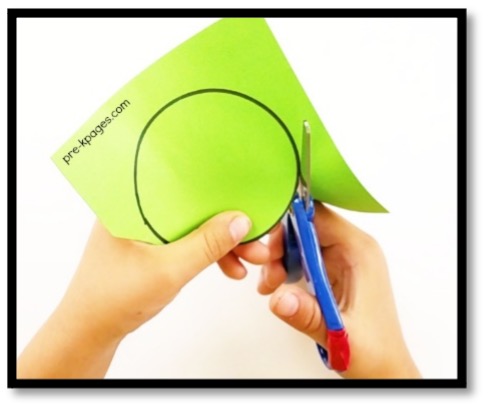
Even more difficult than zig-zag are curved lines. These lines can be very tricky for young children to cut, it’s best to wait until they have developed the muscles in their hands to accomplish this challenging task. How do you know if your kids are ready for curved lines? Observe them ripping, snipping, fringing, and cutting on straight and zig-zag lines. If they can do those things, then they may be ready to move on.
Cutting Right Angles
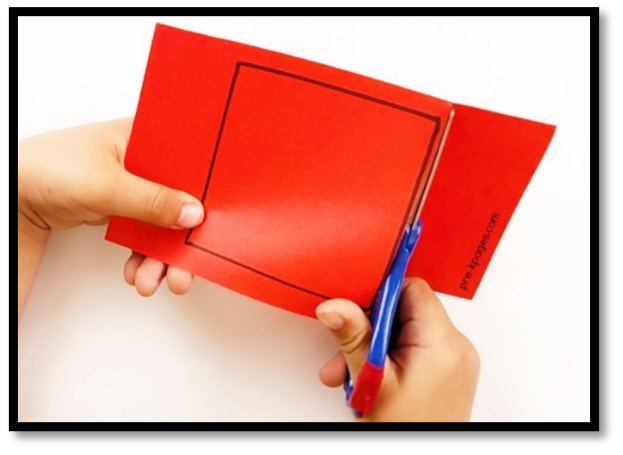
Cutting squares and rectangles can also be challenging for young children. Trying to turn the paper is always challenging, and they instinctively try to turn their arms instead. You may need to practice cutting curved and right angles with your kids, demonstrating how to hold the paper and turn it as you cut. It will take lots of practice before your kid masters cutting curves and right angles.